As an Amazon Associate I earn from qualifying purchases.
They say that pictures are worth a thousand words. If you’re talking about selling clothing online, I think that estimate is a bit low. In the fast 5 years, I’ve sold well over 5,000 items of clothing online and, if I had to choose between a description or pictures, I’d go with pictures every time. If you have a title and bare minimum description, your pictures can make or break your sales.
While I mostly sell on eBay and Mercari, what I’d like to share is true of not only those platforms but of Depop, Facebook Marketplace, Etsy, Poshmark, etc. In every case, better pictures mean better sales.
While each platform attracts a slightly different customer base that is attracted to slightly different things, good pictures are good pictures. So what makes a good picture for selling clothing online? Well, the good news is that you can learn how to take pictures of clothes to sell in just a couple of minutes.
The goal of pictures when selling clothing:
When it comes to selling clothing, the purpose of your pictures is twofold: to make the item as attractive as possible, and to communicate the condition and specifics about the item as accurately as possible. Veer too far to the side of making it attractive and you’ll have customers that are underwhelmed and want to return it. Forget about creating attractive pictures and your click-through rate and sales will drop.
3 Things To Do Before You Start
Before you fly off and start snapping pictures, we have to set the stage. Creating the right environment to take pictures in is just as important as actually picturing the clothing.
- Get the light right. Having a well-lighted area is absolutely crucial with taking pictures of clothing. Without light, you won’t accurately capture the color, texture, etc. You don’t necessarily need a lighting kit either (although I use one). Instead, try taking pictures in an area with a lot of natural light.
- Figure out your background. In general, I’d advise taking pictures with the least distracting background possible. For many people, this means a white background, and they either hand a sheet/piece of paper up or get a backdrop to achieve this. If you’re just taking a couple of pictures, a light-colored wall (such as gray or white) will suffice.
- Make your item as attractive as possible. Before taking pictures of your item, make sure it is clean, wrinkle-free, and even ironed if need be. Oh and, if you have pets, be sure to get the pet hair off of the clothing. It’s gross to buy someone else’s pets’ hair.
Once you have primed the pump and created the perfect greenhouse for your photography, you’ll have to get down to the nitty-gritty of actually taking the pictures. When it comes down to it, there really aren’t that many ways to take pictures of clothing.
We have 4 different methods in our arsenal but typically only use 2 of them.
Let’s take a look at each one and we give you some examples that are currently in our eBay store. Now, before you rip me up, I know, the pictures aren’t the best. But they’re good enough to make sales!
4 Ways To Photograph Clothing For Online Sales
1. On A Mannequin
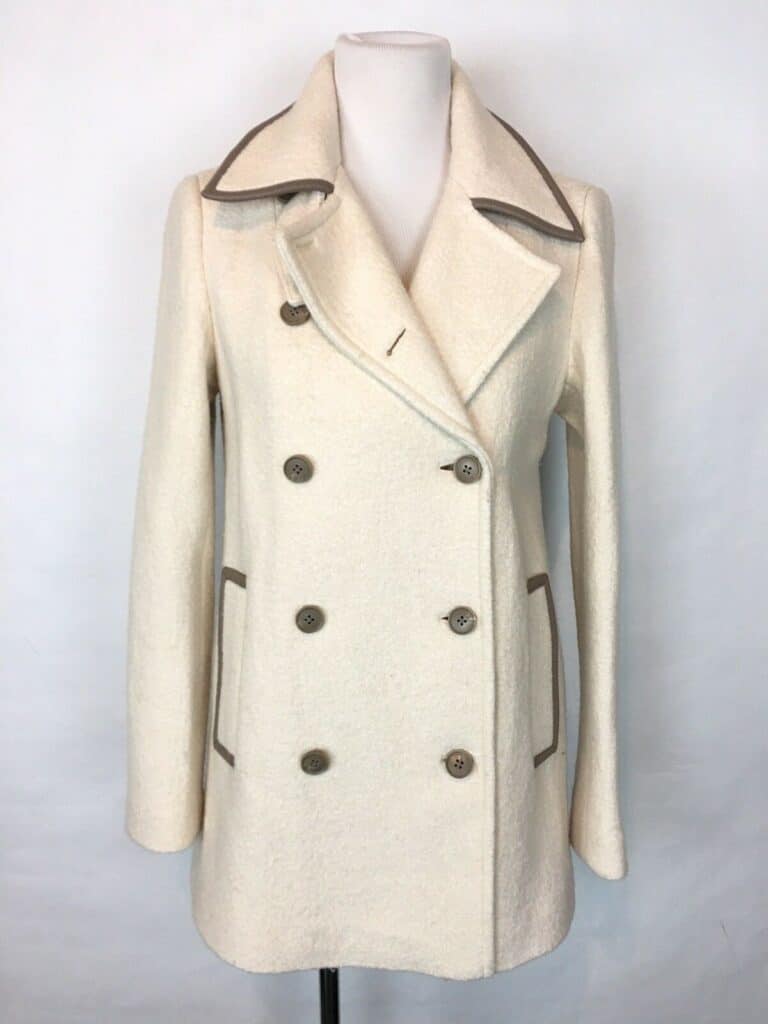
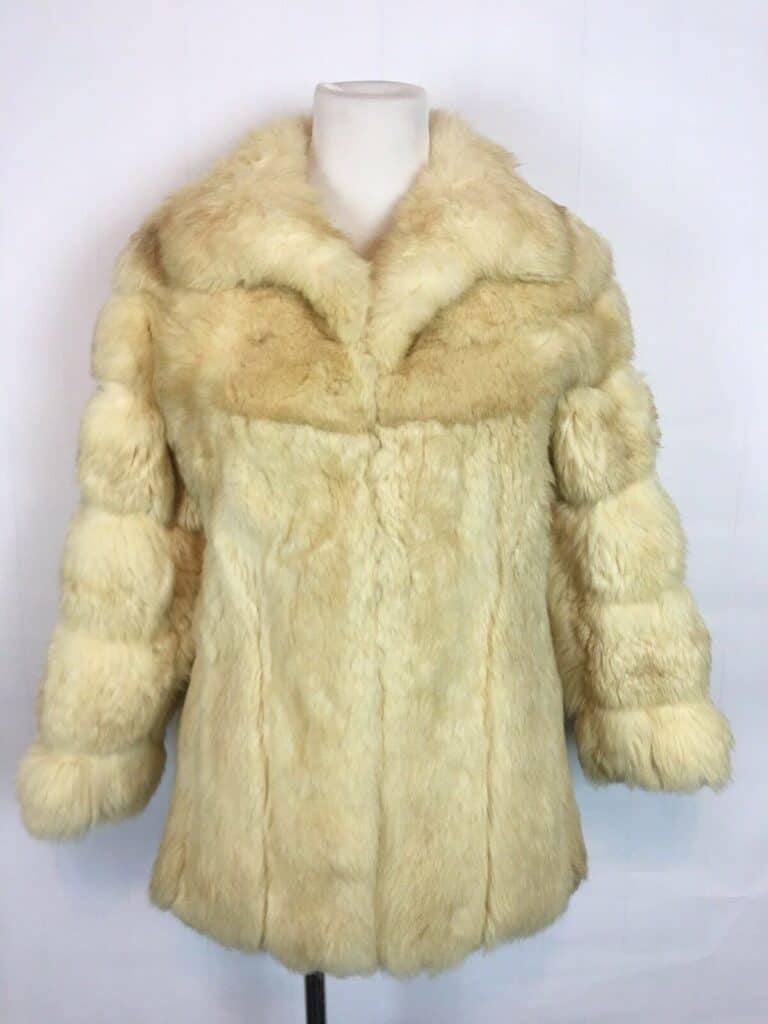
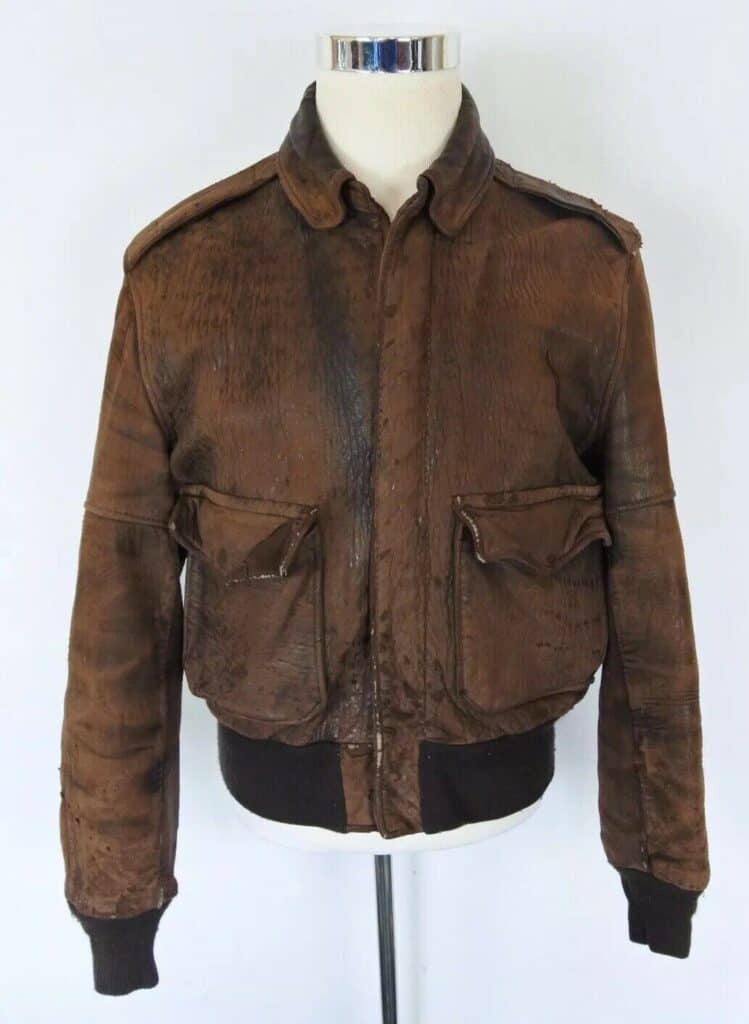
For a time, we used a mannequin to take pictures of every single item we sold. It has the potential to create the best pictures if done right. However, done incorrectly, this may be the worst method of the lot. In general, I do no longer advise eBay/Poshmark sellers or casual clothing sellers to use a mannequin for the following reasons:
- It’s time-consuming.
- If the clothing doesn’t fit the mannequin it looks lumpy and unattractive.
- Mannequins are expensive and storing them is a pain.
2. On A Hanger
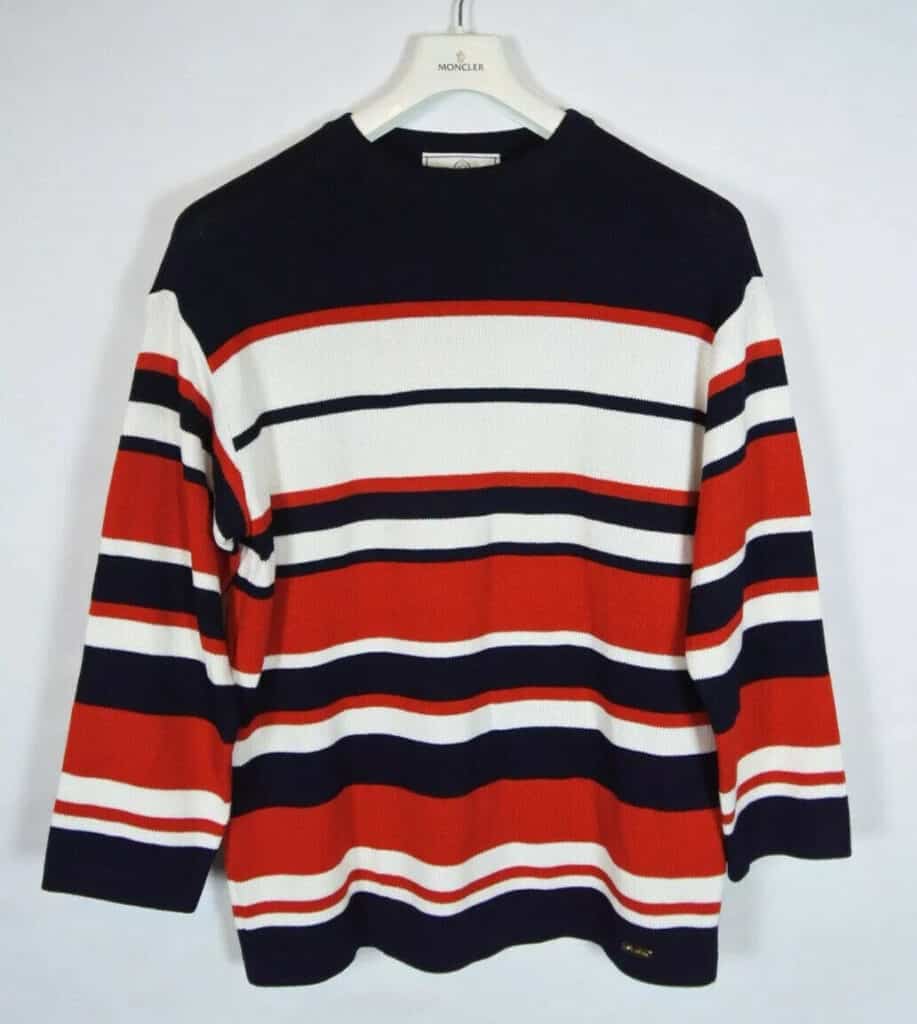
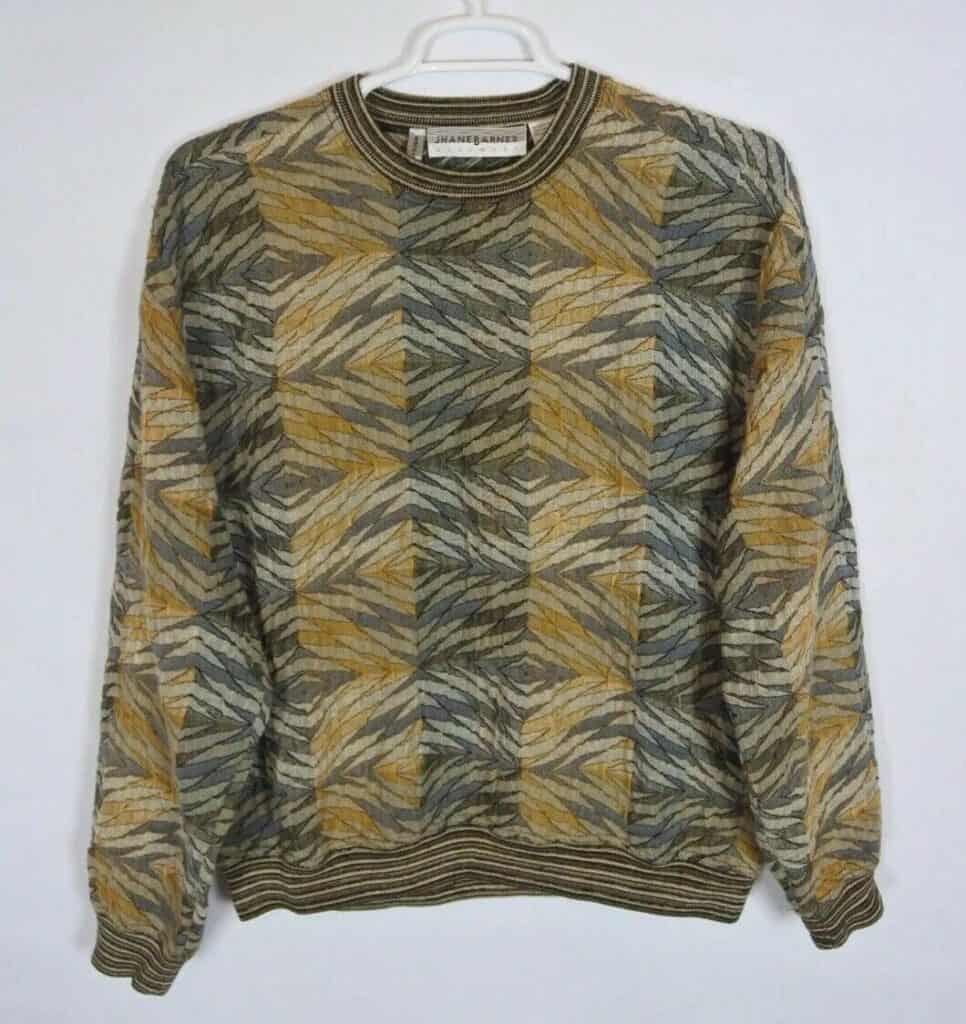
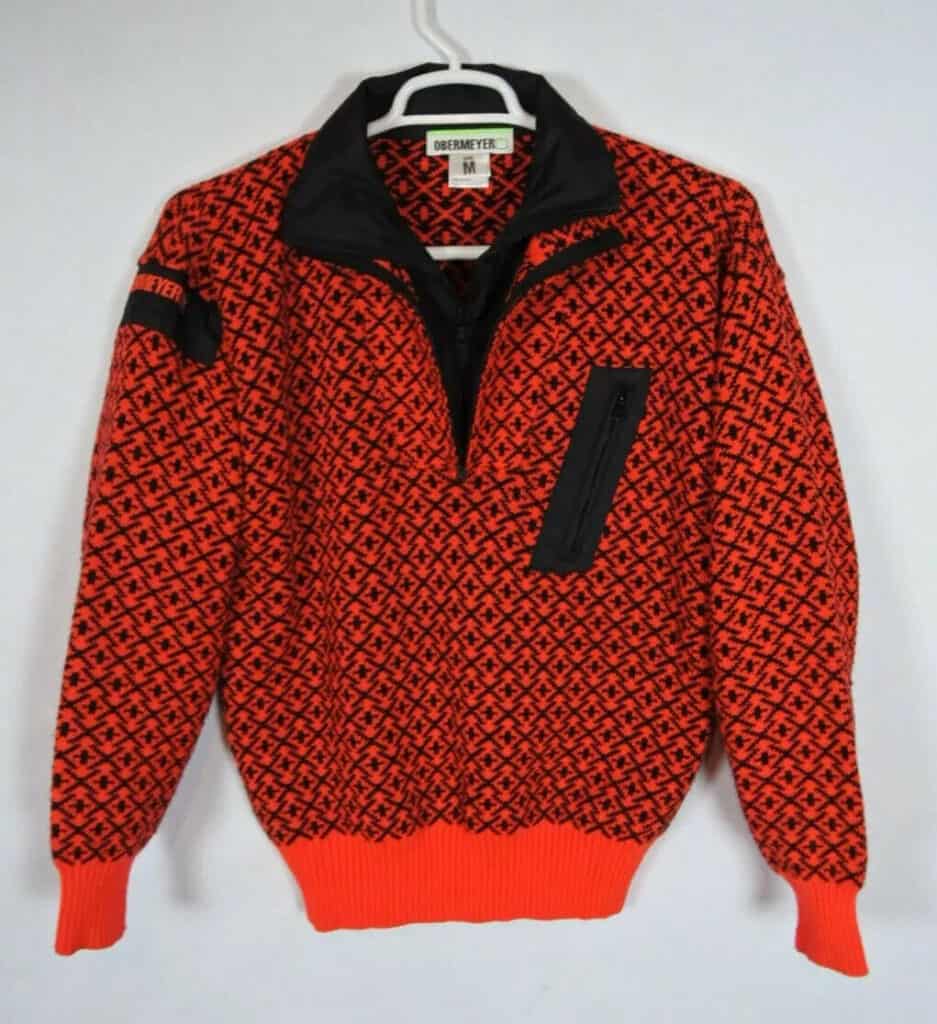
It may surprise you that simply putting something on a hanger is our favored way to pictures almost all tops. Unless it’s a pair of pants or a big puffy coat, you can bet that it’ll be on a hanger. Hangers are much faster than a mannequin while still giving some idea of how the garment will fit on a person. We simply have a command hook on the wall where we take pictures so we can set up our lights the same way and get the same quality of pictures time and time again.
The secret here is to not just any old hanger. You’ll need to either get or make some extra wide hangers. We just use these ones off of Amazon and they make a huge difference. If you use a narrow hanger your clothing will lack any shape whatsoever and will look terrible in pictures.
The other positive to using a hanger is that we store out “death-pile” (our unlisted eBay inventory) on a rack so that it doesn’t get wrinkled. We can simply pull something off the rack, take pictures in less than a minute (since it’s already on the hanger), and move on to the next item.
3. Flat-lay

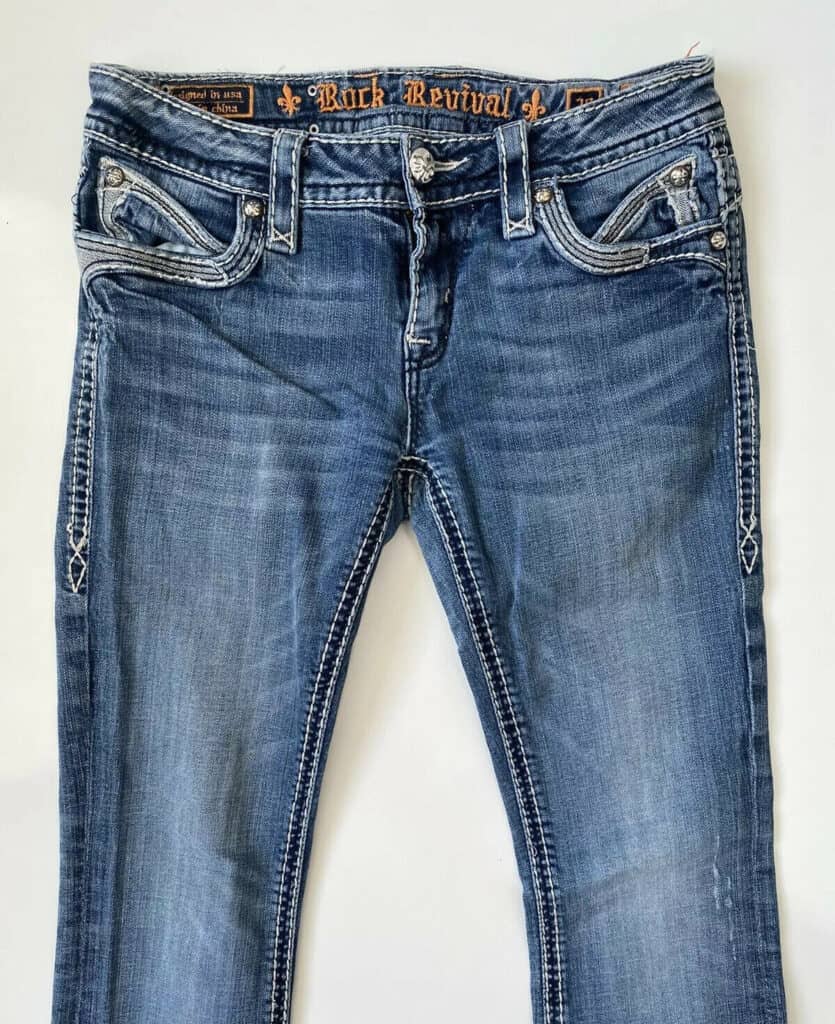
For everything else we photograph, it gets the “flat lay” treatment. This is typically the method that regular people looking to offload their unworn clothing use. The problem is, they do it terribly. To take a good flat lay picture, don’t just throw the item onto your bed and snap a pic. You need to find a good background and lay the item out in an attractive way.
For our background in the pictures above we found a 3’x4′ whiteboard at a thrift store for $10. It works much better than the paper we used to use as it doesn’t get dirty, wrinkly, or get holes poked in it. Many people actually choose to use a rug (we used a large piece of white faux fur for a while) as the texture helps correct the lighting and adds an artistic flair.
4. Model Your Item
Believe me, you don’t want to see me modeling the clothing I sell. Nothing could ruin my sales faster. However, you are probably the type of person that could pull it off!
If you are taking pictures of your own personal clothes to sell, including a picture of you wearing them can be an excellent idea. It will more accurately shoe the fit and style of the clothing as well as typically color correcting and making the item look more attractive.
Since we sell hundreds of brands in every size under the sun, modeling the clothing isn’t really an option. We have done it at times but, in general, it’s not really a practical method if you’re selling at volume.
3 Tips For The Best Clothing Pictures On eBay and Poshmark
1. Include All The Right Pictures
The more pictures you can include in your listing, the better. At least to a point. It’s not necessary or practical to even include the max of 12 that eBay will allow per listing. In fact, unless an item is worth $100+ we typically include 6-8 pictures. For each clothing item you’re photographing to sell try to include the following:
- Front Picture
- Back Picture
- Picture(s) of the brand tag, size tag, and materials tag
- A picture of the inside (if it’s a jacket or something similar)
- A picture (or more) of anything special. This might include fancy buttons, patterns, embroidery, embellishments, etc.
- Pictures of all flaws or high wear areas. We typically include pictures of the cuffs and collars of dress shirts, hems, and crotches of pants, etc
2. Decide Between Your Phone Or A Camera
The tool that you use to take your pictures can make a huge difference in how the pictures look. But, in all honesty, it’s not a breaking point. If you are just selling a few items, by all means, just snap pictures on your phone. We have taken the majority of the pictures for our eBay items on iPhones.
Cameras take better pictures and, if you’re selling in volume, it might be worth it to invest in a camera as the pictures will look better and take less editing. (Check out the best cameras for clothing photography here)
3. Consider Removing The Background
eBay now has a built-in ability to remove the background of your pictures but, let’s face it, it’s not great. It is much easier to simply craft a great background from the get-go that you can use time and time again. However, if you are selling items that are high dollar and you want to appear professional, I’d recommend you use Bonanza Burner. You’ll have to set up an account (it’s free) but it’s worth the time it takes. Check it out here.
Conclusion
At the end of the day, learning how to take pictures of clothes to sell is probably the second most important thing you can do for your eBay, Poshmark, or other online business. What’s the most important thing you ask? Knowing what types of clothing to sell of course! Check out all of our articles on What To Sell On eBay on our blog!
Until next time, happy sales!

How To Buy Unclaimed Mail (It’s Easier Than You Think)
Best Thermal Printer For eBay Shipping Labels (Fast & Cheap)
Is List Perfectly Worth It? (Yes…My Full 3 Year Review)
Fix Poshmark’s “Sorry, You Cannot Perform This Request” Error