As an Amazon Associate I earn from qualifying purchases.
Taking great pictures is one of the most important aspects of your online listings. Whether you sell on eBay, Poshmark, or another platform, they truly are worth 1,000 words.
I would rather have excellent pictures and a blank description than a killer description and no pictures.
If your pictures are well lit and attractive your customer has a sense that you are a professional and assumes that you will also handle the rest of the transaction at a high level.
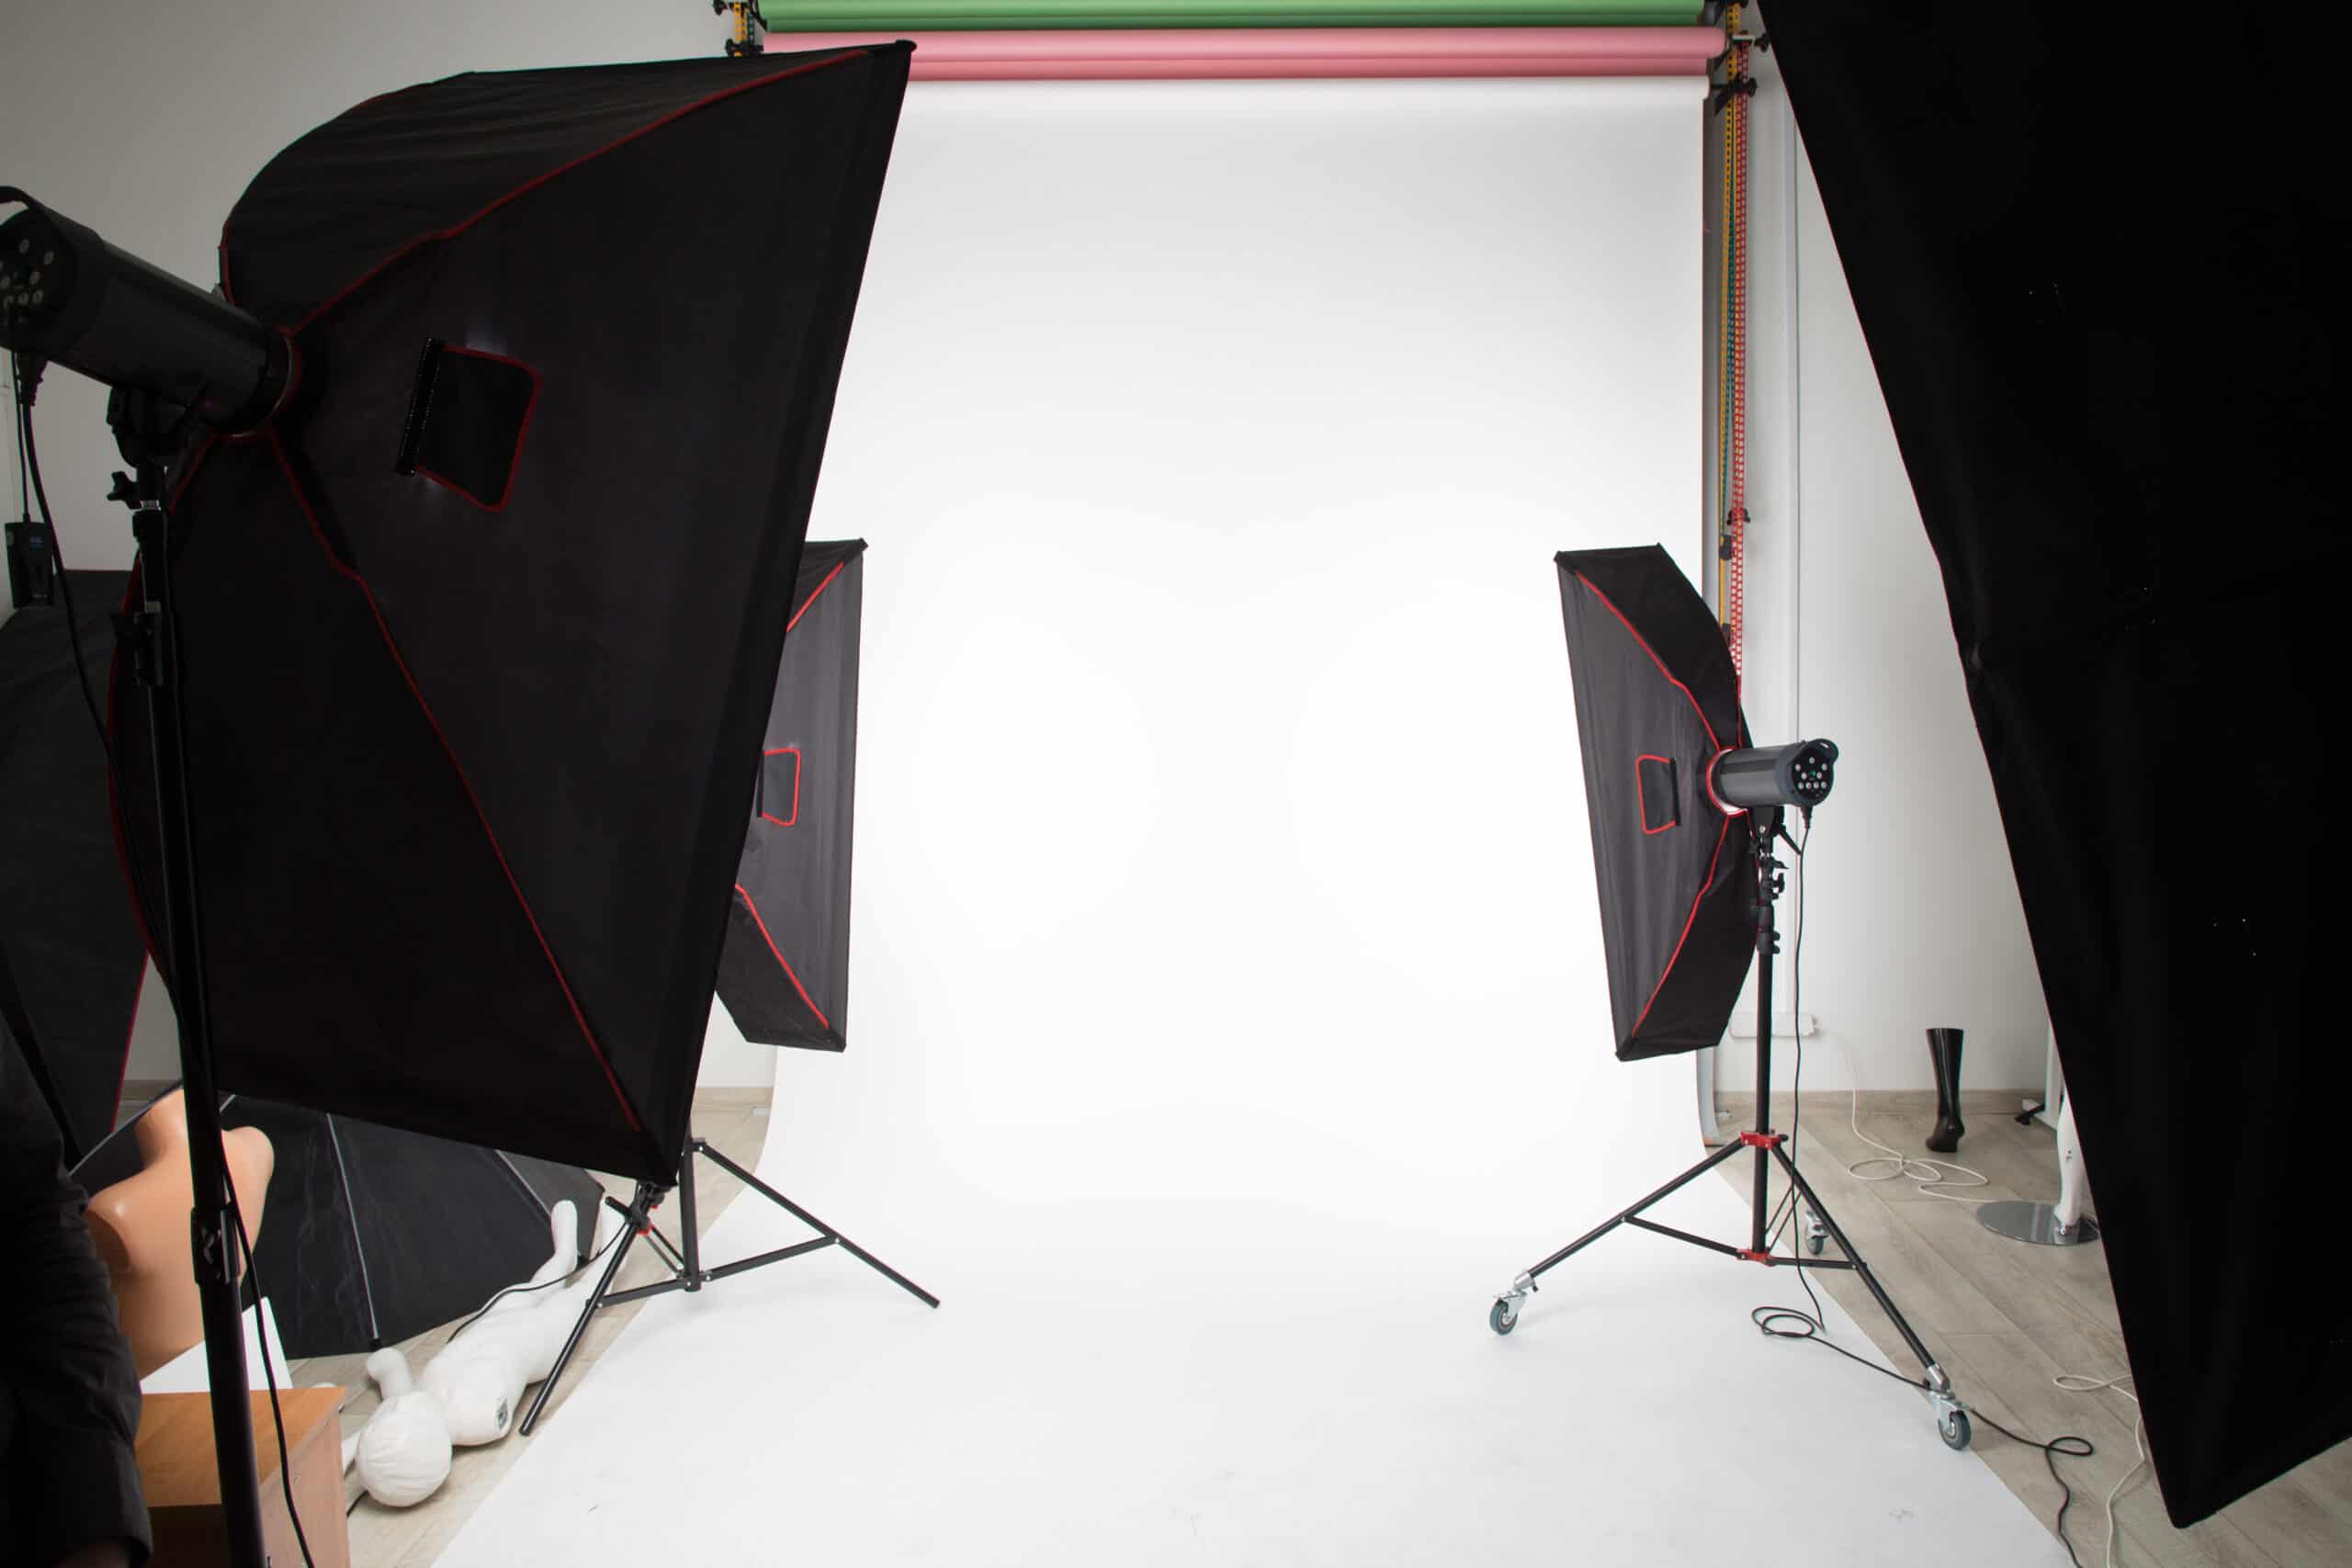
So how do you take great pictures? Well, it all starts with lighting. Not all of us have access to natural lighting to take great pictures with, and lighting set-ups can be expensive. So what is the solution? Luckily you can make a DIY photography lighting kit for 1/3 the price of buying one!
I’m not the world’s handiest guy but even I was able to piece this together without too many issues.
It solved a ton of problems that I’ve experienced with different lighting setups over the years. In the past, I’ve tried all the standbys: halogen (too yellow), Reveal bulbs (too spotty), strobes, (potentially great pics, but too inconsistent), outdoors (wind and shadows), etc.
But for $50 I leveled up.
Here’s what you’ll need for you DIY photography lighting set-up:
- Light Fixtures: You’ll need two two-tube 48″ (4 foot) fluorescent shop lights. These are available at just about any home improvement or hardware store. I paid around $28 a piece for mine at Home Depot. They don’t have to be nice or complex. I got the bottom-of-the-barrel type. Just be sure that the ones you get have a plug for an outlet and have an easy way to turn them on/off. You’ll want a set that comes without bulbs.
These are also readily available used at places such as the ReStore, eBay, Craigslist, or any old thrift store. My friend picked up 4 of them for $10 when he wanted to make his own lighting setup.
- The Bulbs: This is the REALLY important part. The color of light is measured in Kelvin. It’s an oversimplification, but “White Light” is around 5000K and you need four 5000K “daylight” or “natural color” tubes for your fixtures. Different manufacturers call them different things, but the important thing is that somewhere on the package it gives a number between 5000 and 6500 – nothing else will do. Yes, they’re the most expensive bulbs in the store ($6-8 each) but don’t skimp! And no, a higher number isn’t better. In this case, a higher number means the light is bluer while a lower number means the light is more yellow.
- Camera: Nothing fancy required. I assumed you already have a camera for eBay pictures but, if you don’t, you can get an expensive one or even use your phone.
- Backdrop: Many people start off using a white wall or by hanging a sheet behind the item they’re pictures. They are tons of different methods for taking pictures of clothing so you’ll have to find one that works for you.
- Mounting: There are infinite possibilities for mounting the lights, hanging the clothing, and hanging the backdrop. It will mostly depend on the amount of space you have available and how permanent you want things to be.
The Setup:
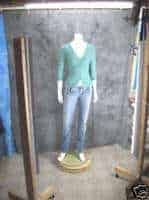
Here’s the set-up I started off with:

Light Positioning
The most important thing here is that you position the lights vertically (tubes straight up and down – the opposite of how you’ve ever seen a shop light mounted before. The reason for this is that you’re illuminating the garment from top to bottom (or most of it in the case of long coats and dresses and such) with even light.
There is a myriad of ways to do this. If you’re shooting with wood joists overhead, it can be as simple as screwing in cup hooks and using the chains that came with the lights. If you have sheetrock or suspended ceilings, you’ll need special hooks. Some people build bases out of 2x4s and mount the lights to them.
Start with the two fixtures about four feet apart and about three feet from where you’re going to be hanging your clothing. Angle each fixture in slightly so it’s “pointing” at where you’re going to be hanging your clothes. Don’t commit yourself to placement yet! You’re going to be doing a lot of experimentation – find out what placement works for you – further apart? closer together? further from the item? closer to it? I even know someone who swears up and down he gets better results by placing one light closer to the clothing than the other.
The Backdrop
There is basically only one rule here: don’t hang the item on the backdrop! The more flexibility you have with the distance between the lights, the item, and the background – the better. What we’re doing is illuminating the full length of the item from both sides, canceling out shadows on the garment. There WILL be shadows on the backdrop BUT when you work it right, they’re squarely behind the item you’re photographing and you’ll never see them.
You can get a mannequin for eBay or Poshmark pictures fairly cheap and it will elevate your pictures even further.
Camera Settings and Beyond
Now, I know most people take pictures of the inventory with a phone. That is totally fine. But what about the old-school ones of us that use a camera?
Here are some settings that I use to hit the ground running:
- Flash: No
- Tripod: Yes (And remember to use the short timer or remote control so your finger’s not on the camera when the shutter fires)
- White Balance: A lot of this depends on your camera. Mine has a 5000K setting. Short of that, the best White Balance setting is “Manual”, where it lets you hold a piece of paper or whatnot in front of the camera to “tell it what’s white”. Consult your owner’s guide for details on your white balance settings.
- Shutter speed: Try a bunch! Just purely as a starting point, everything I shoot, I shoot three times. One at 1/4, one at 1/8, and one at 1/15. I find I use the 1/8 as often as not for long shots except on very dark items, and the 1/15 for closeups, with just enough exceptions that I still shoot all three. This almost certainly won’t be your preferred shooting solution, but it’s a start.
- Post: Other than accurate color representation, one of the best things about this setup is it eliminates all visible shadows from the shot. If you have a sufficiently “contrasty” background, you can now use the magic wand in your photo editor to “pop off the background” and “float” your pictures if you like:
- Versatility: Now that you’ve got a couple of 5000K lights and know about color temperature, white balance, and shadow cancellation, you’re not limited to just hanging items. You can mount them over a table and shoot other items as well…
A Few Examples Using My Setup:
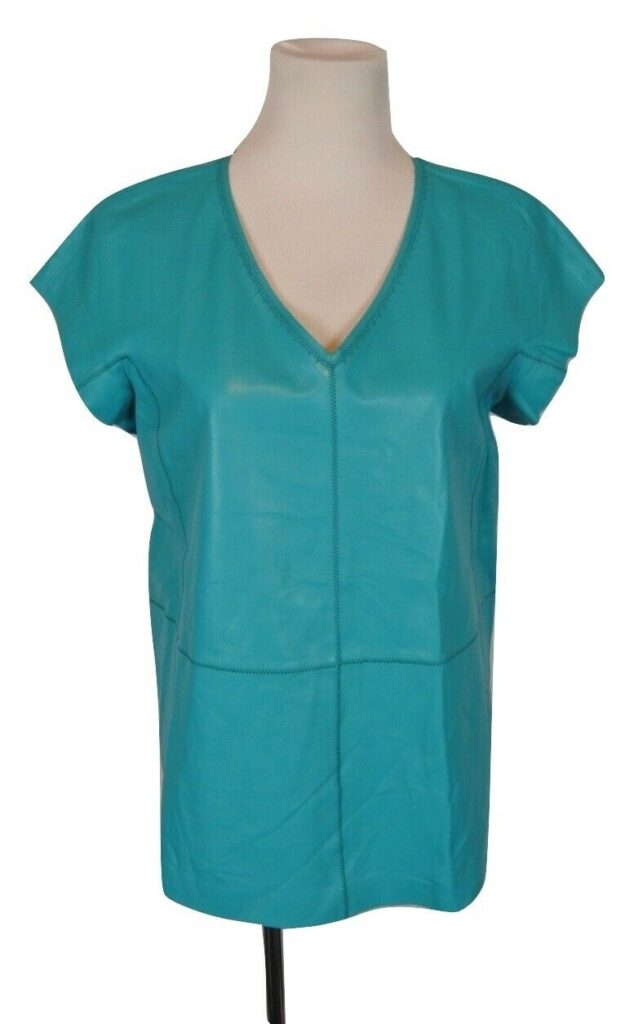
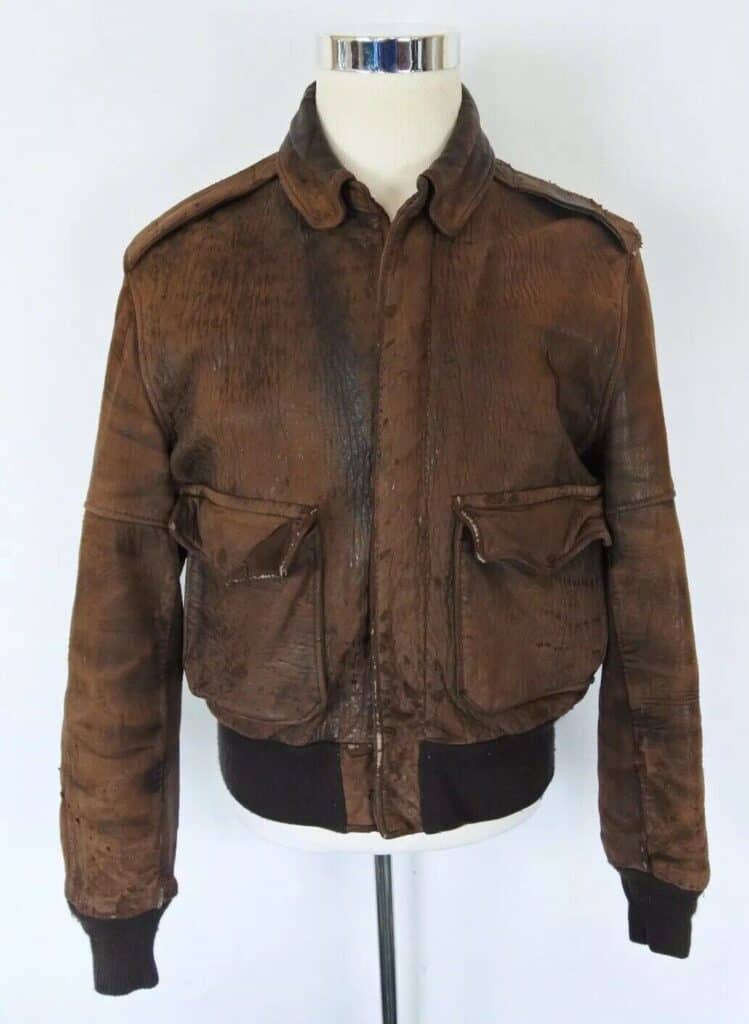
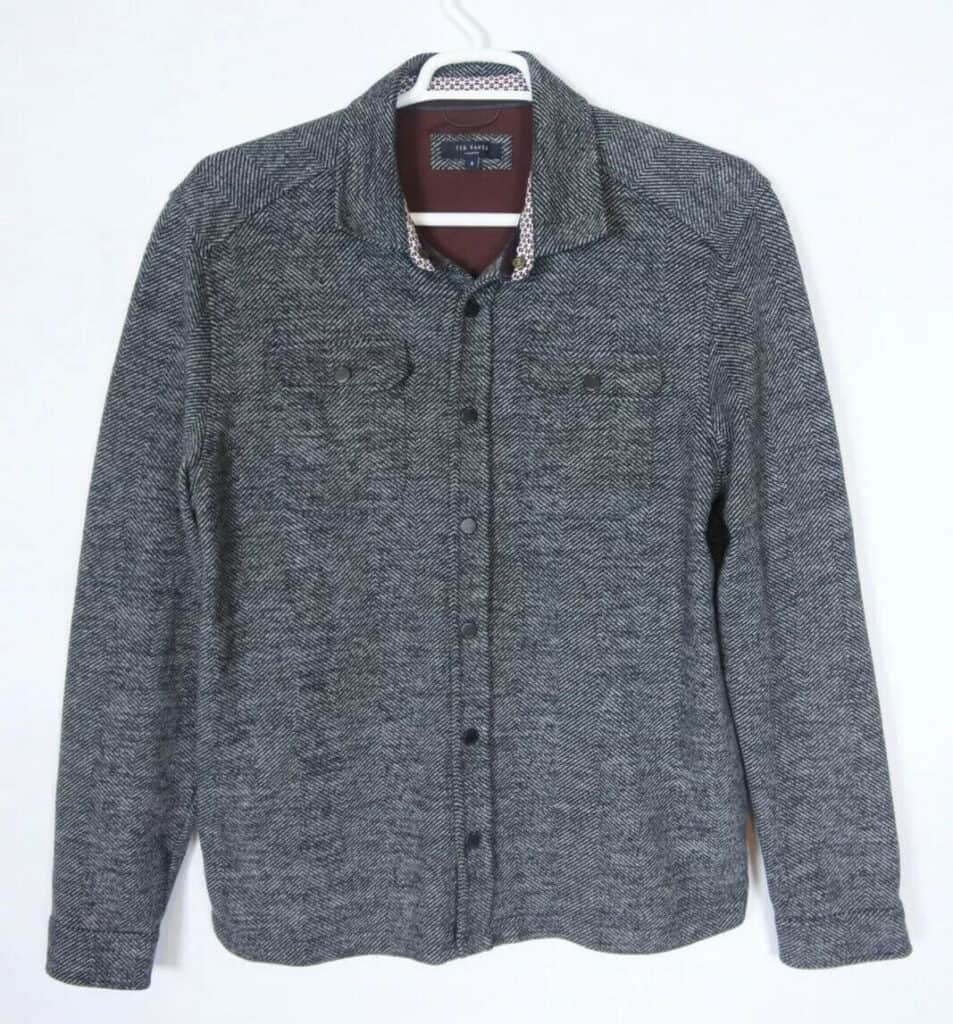
The best things about this setup is that it allows my to be fast. I don’t have to hunt for better light or tweak things. I just put them up, take my pictures, and move on to the next thing!
Conclusion
Aside from a thermal printer, this might be the best investment I ever made for my eBay business.
Is it the “best” setup? Certainly not. But it’s got a few huge things going for it. It’s compact and stowable, and it’s probably about the best lighting setup until you spend ten times the money on professional photo lighting.
Other Articles You’ll Enjoy
Are All Thrift Stores Non-Profit? (No, But These Are…)
I used to love donating to one of my local big box thrift stores. When…
How To Wash Stuffed Animals & Plush Toys (The Washing Machine…)
Whether you’re a thrift-store-lover or a parent (or both in our case) you’ve probably had…
How To Reshape Leather Boots & Shoes (10 Minutes Of Work…)
As a thrift store fiend, I’m no stranger to wrinkles and crunched-up leather shoes and…
How To See What eBay Items Sold For On Best Offer (3 Ways)
At A GlanceThe only way to find the best offer that was accepted on an…
How Do You Get Paid On Mercari? (And When…)
At A GlanceTo get paid on Mercari you must first list and sell an item….
The 9 Most Valuable Tonka Trucks: A Price Guide
When I was a kid (in the 90’s) my parents didn’t bother buying me any…
