As an Amazon Associate I earn from qualifying purchases.
I can’t even count the number of times I’ve put back sweaters and jackets at a thrift store because they have more pills than a junkie.
Unfortunately, it’s just not thrifted stuff that has a pilling problem. Keeping my Patagonia Better Sweater free of pilling is a job in and of itself. For some reason, outdoor fleeces are particularly prone to pilling, especially when treated incorrectly!
As a clothing reseller, I’ve spent countless hours trying to pick each pill off with my hands, tweezers, and even duct tape. None were very effective and, more importantly, they took a ton of time.
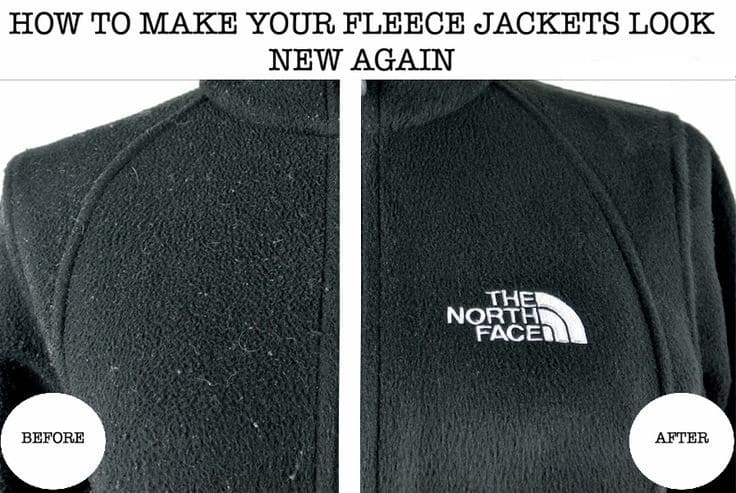
So the purpose of this article is two-fold: to help you know why your fleece jacket is pilling (and how to stop it), and teach you how to remove the pilling from your fleece jacket if it’s already there.
Before you start, be warned: this method removes the top layer of material. If you’re too vigorous or do it too often, you will wear the fabric thin. This method is best for polyester and cashmere but can also work on wool or cotton.
The Best Tool To Remove Pilling From Patagonia Fleeces
Here’s what we’ll need:
- A sweater stone. Very similar to a pumice stone, these have sharp edges which remove lint, pills, etc. These can be found at most any fabric store or you can get the one that I use on Amazon by clicking here.
- A lint roller or tape
- Something that needs de-pilling…obviously.
- Just a smidgen of patience
How To Remove Pilling From Your Patagonia Jacket
Step 1: Lay Your Fleece On A Flat Surface
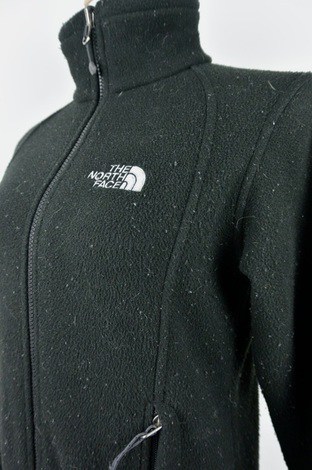
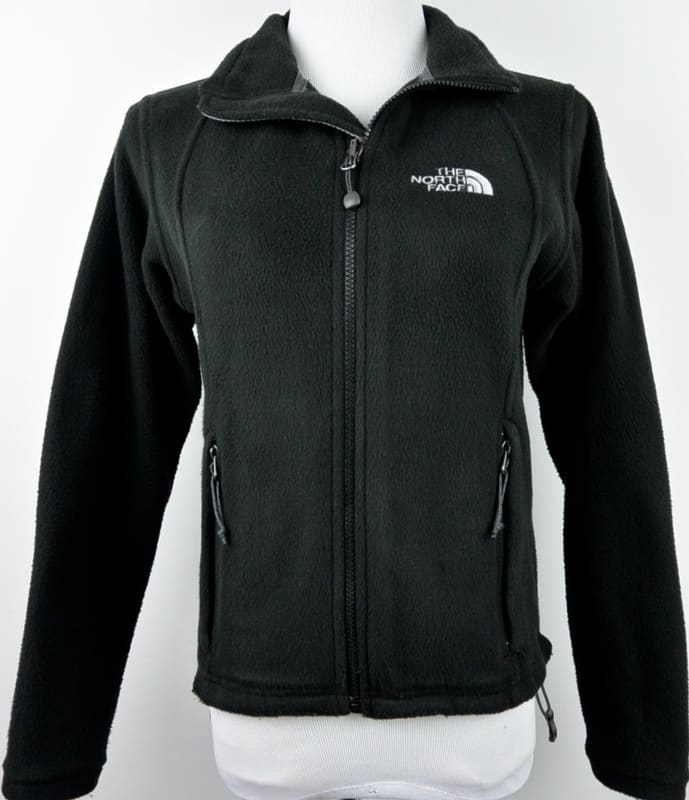
This is what I started with. I know, I know, it’s not actually a better sweater. However, mine and my wife’s were sparkling clean so I grabbed something else that needed some work.
A very typical example, this jacket looks like it has received typical wear and just been thrown in the washer/dryer when needed.
It doesn’t just have normal pilling all over, it has a glorious amount of pills, lint, and what looks like pet hair.
Now, if you have a mannequin, put your article of clothing on it for an easy working surface. If you do not (as most people don’t) lay the sweater out on a flat hard surface such as a kitchen table.
Step 2: Grab Your Sweater Stone
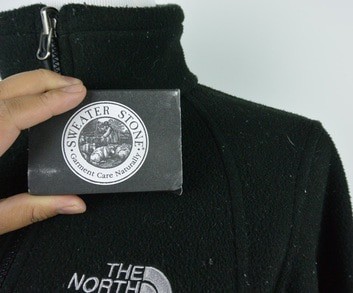
Grab your sweater stone. You’ll want to leave the paper piece on the stone or it will do to your fingers what it is doing to the sweater.
You’ll be holding onto the carboard and scrubbing the fleece with the other side to remove the pills.
Step 3: Slowly Brush The Stone Down The Fleece
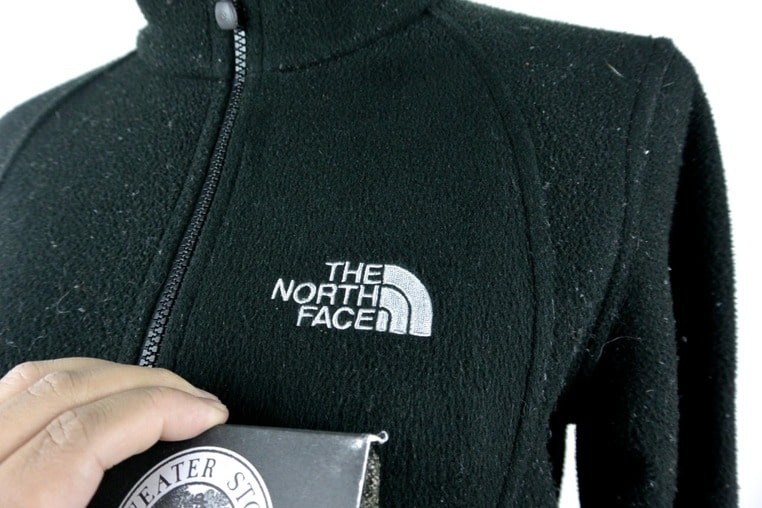
Carefully drag the stone down the sweater with smooth even strokes and medium pressure. If you push too hard you run the risk of removing excess material. Not hard enough and you won’t remove all the funk.
You’ll have to experiment until you get it right. Don’t worry, it’s pretty hard to mess up and it’s better to make more, lighter passes.
Step 4: Work Your Way From Top To Bottom
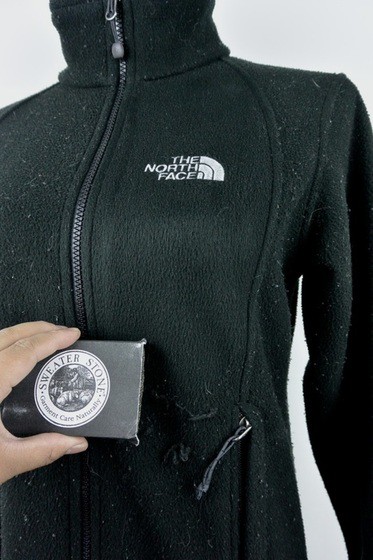
Continue to work your way over the jacket/sweater, moving from top to bottom.
Starting at the top simplifies things as it allows you to simply brush the excrement onto the ground as you go.
I typically stick with one area of the jacket at a time until I have it how I want it. For example, I broke this jacket into quadrants (mentally) and decided to remove the pills from the zipper to the seam on the right side.
Step 5: Use A Lint Roller To Remove The Dust & Pills
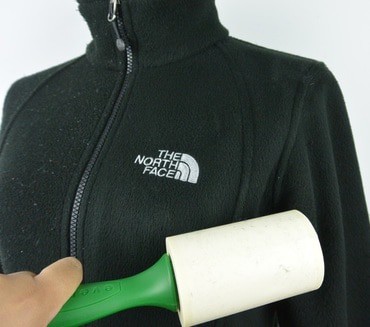
When you reach the bottom, run your lint roller over the jacket/sweater to remove any remnants.
You’ll also pick up some bits of stone that crumble off as you work.
If you keep it clean as you work and don’t let the stone bits work their way into the fiber you’ll be able to avoid washing your jacket when you’re done.
Step 6: Endure To The End
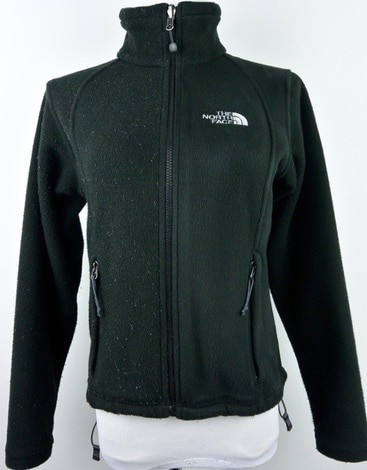
Halfway there! Can you tell which side is done? This shouldn’t take more than 10 minutes or so and the improvement is huge!
Be careful around stitching and seems but continue working from top to bottom in quadrants until your jacket is looking brand new (ish) again!
Once you get good, you’ll be able to clean up a sweater/jacket in about 15 minutes. I do this to resell so I can never forget that time is money! This makes a definite difference in sales.
Linty pilly sweaters are a dime a dozen but well-cleaned clothing that has the appearance of gentle use is what most people are looking for!
How To Keep Your Better Sweater From Pilling
Now that you’ve got your fleece clean of pilling, there is one huge thing that you can do to keep it from happening again. Hopefully, this is something you are already aware of but, if not, here we go: DO NOT PUT A FLEECE JACKET IN THE DRYER!
If you do put a fleece jacket in the dryer, only use air dry. Applying heat to the fleece means that it stiffens up and will never be as soft and luscious as it was when you first bought it.
The manual tumbling with the heat also causes pilling to form!
Now, you’ll probably have some pilling that happens from normal use. For example, on my Patagonia Better Sweater, I have pilling under my arms when the sleeves rub on my body and some on my shoulders from my backpack straps. While these still bother me, they aren’t nearly as big of a problem as they could be!
Conclusion
So now that you know how to remove pilling from your fleece jacket, get that sweater stone ordered! The longer you let the pills sit on your jacket, the easier it is for them to snag on something and keep growing.

